How to Force Pinterest to Find Your Image
We have come to learn the importance of social media to our marketing campaigns. Search engines use it as part of their algorithms. And Pinterest is one of the better social media platforms to get traffic to your website. If you aren't taking advantage of Pinterest as part of your marketing mix, you need to change that. Pinterest is an important player in this space.
When you pin to a Pinterest board, Pinterest looks for an image on the webpage that you are pinning. Sometimes though, it doesn't find the image even when it is there on your website. This is frustrating because you really want to have pins from your website appear on Pinterest. Most people give up at this point. But this tutorial will take you through the process so that you can get those important pins pinned on your boards.
NOTE: This tutorial is meant for submitting websites/images that you have the legal right to submit to Pinterest. It is not intended in any way to be legal advice and is for informational purposes only. If you use this to submit other websites and images that don't belong to you, then you do so at your own risk.

Here are the steps required for the process. This tutorial assumes you already have a Pinterest account and are logged in.
Step 1 - Click to Plus (+) Button
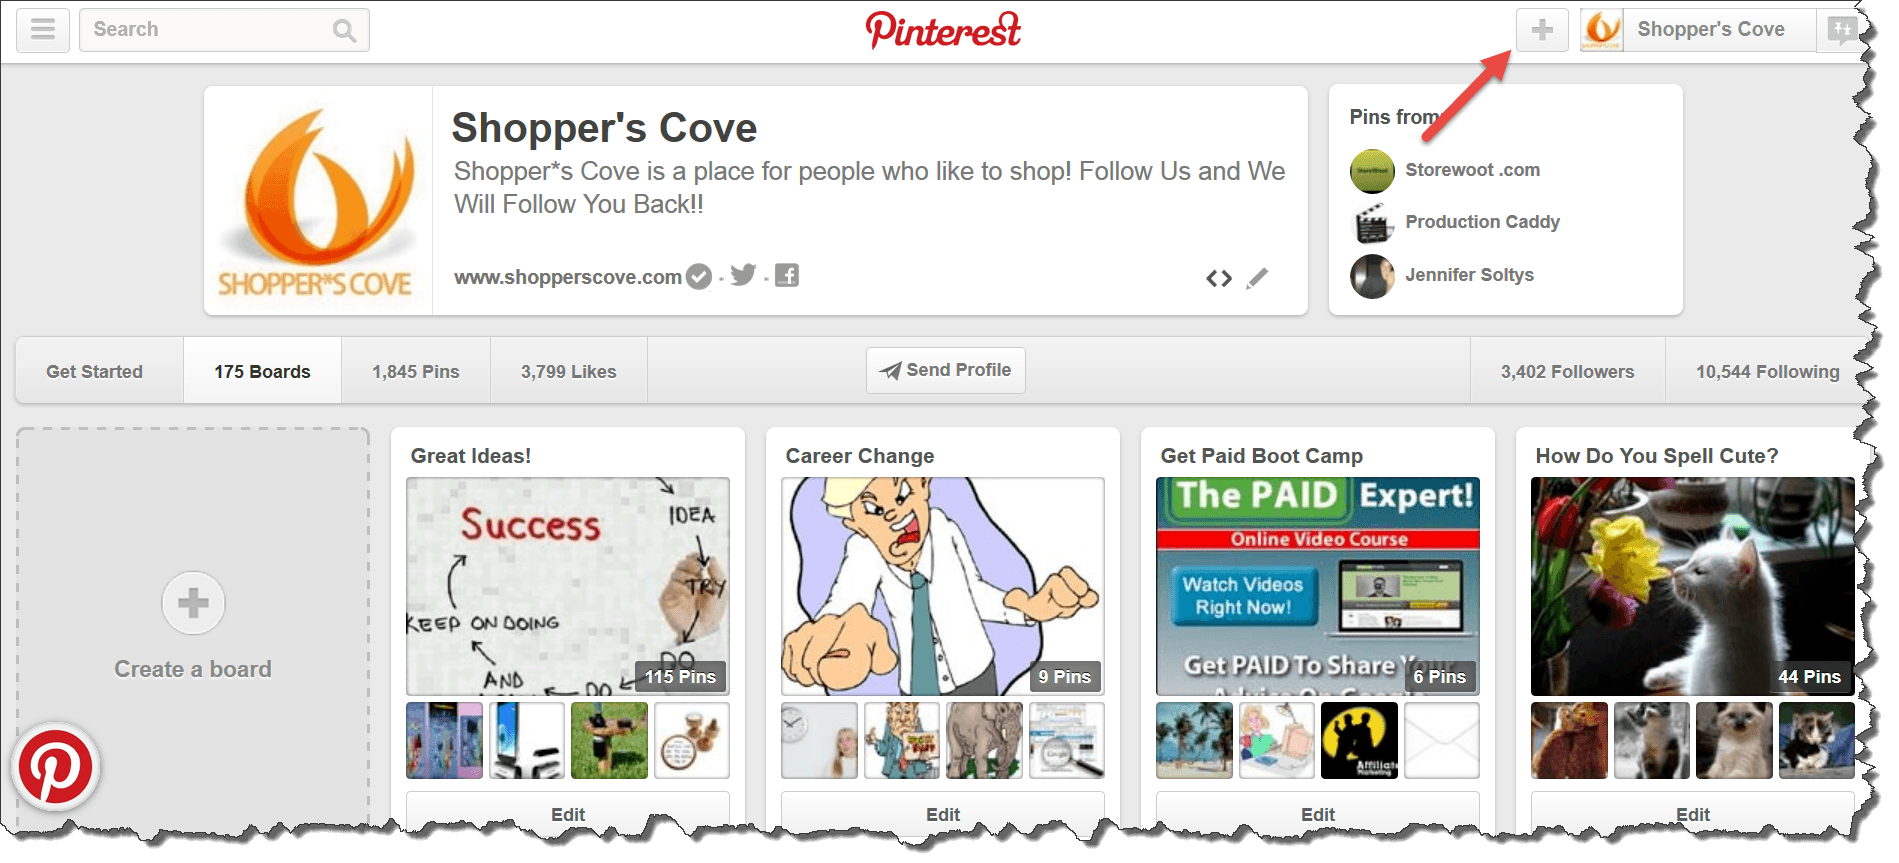
This will give you the following options:
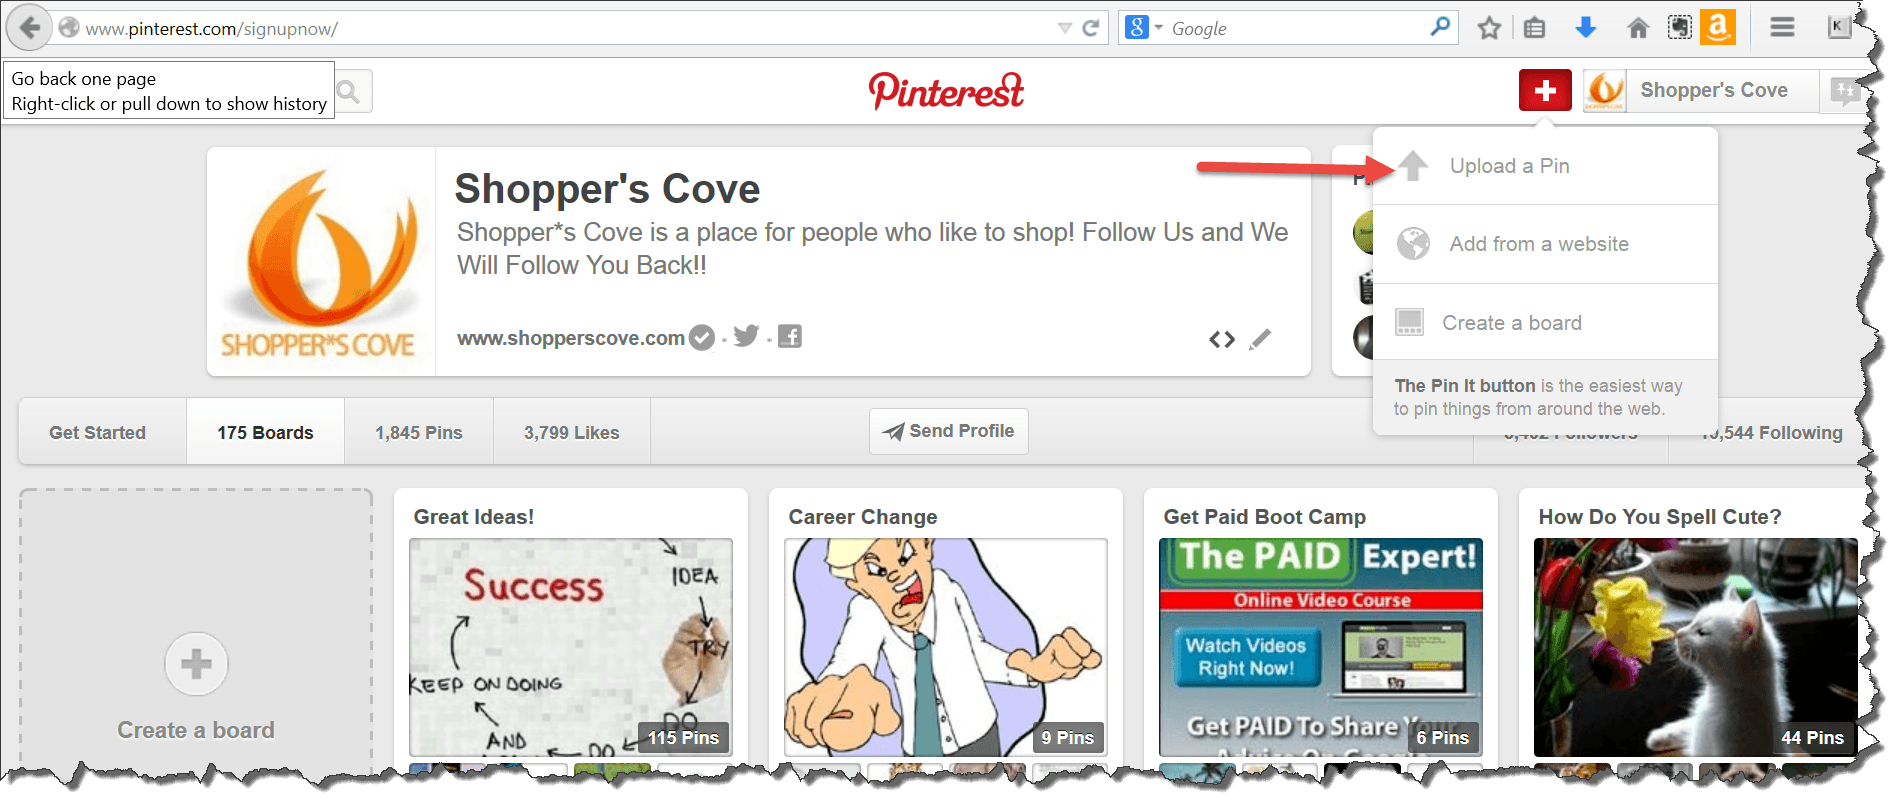
Step 2 - Choose "Upload a Pin"
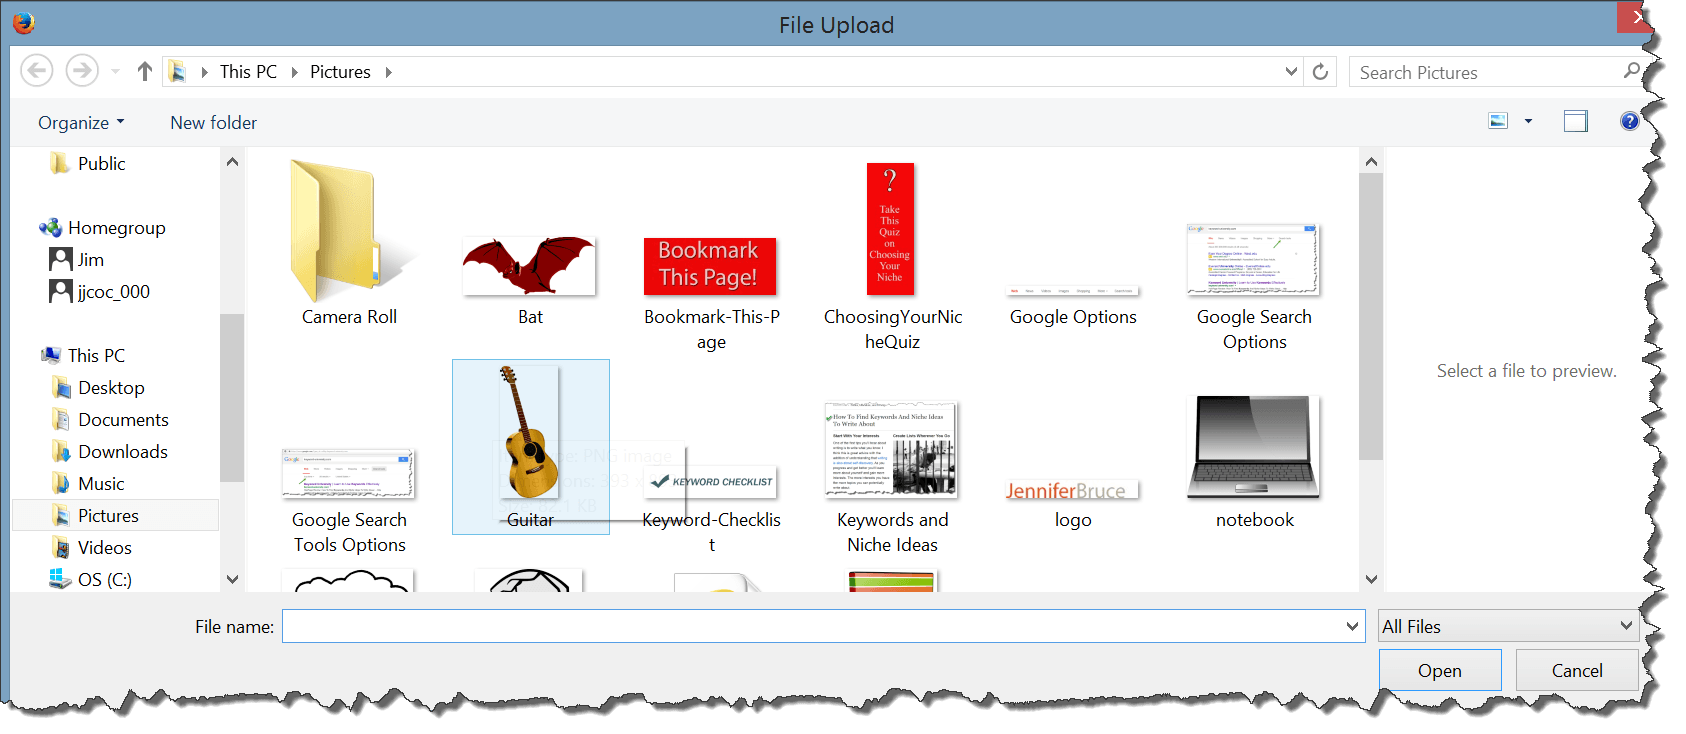
This will give you a dialog box as follows:

Click on the Choose Image button and find the image that you want to upload and choose it. Make sure you have legal rights to upload the picture (not intended to be legal advice).
Step 3 - Choose the Board and Write the Description

Make the description as long as possible and remember to include the webpage address that you want people to click on. Make sure to include the http:// in the beginning as that will make it clickable in the description. You will also be adding the website address in another spot later in this tutorial. Also, include some kind of description hashtag (#) to make it easier to find.
When you have completed all that, hit the red Pin It button.
Step 4 - Find the Pin and Edit It

At the upper right hand corner, you will see your profile name (mine is Shopper's Cove in red). When you click on that you will see an option for Your Profile & Pins. Click on that. Choose the Pins section and find the pin that you just pinned. It will be the very first pin. When you hover over it, you will get options as follows:
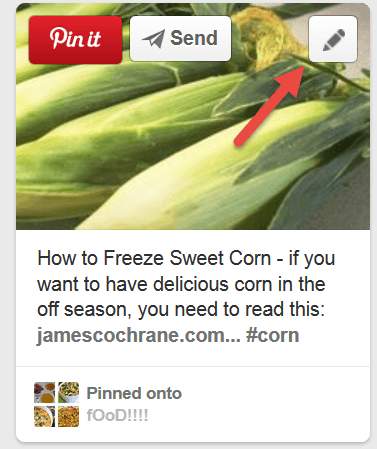
Click on the Edit option (which is that pencil shown above). This will give you the following options:
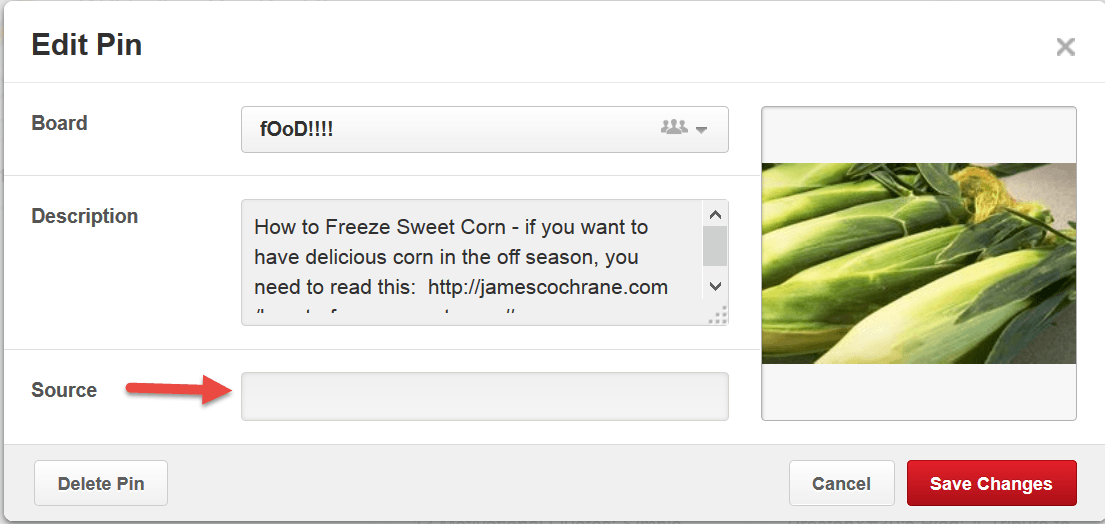
In the source, put the website address that you used in the description. When complete, hit the red Save Changes button. That's all there is to it.
Seems Like a Lot of Work
If after reading this, you say to yourself, this seems like a lot of steps to have to take and you are correct. But the benefits of having your posts on this amazing social network outweigh the work needed to get them loaded into it. If your posts go viral you will be thankful that you have this knowledge in the first place.
Make Your Posts Engaging
This may sound like I am stating but people often get this wrong. If your content is not engaging enough it will not get shared very much and stands no chance of going viral. Even engaging posts don't all go viral but it certainly increases your chances of it happening when they come from posts/websites that offer value to readers.
